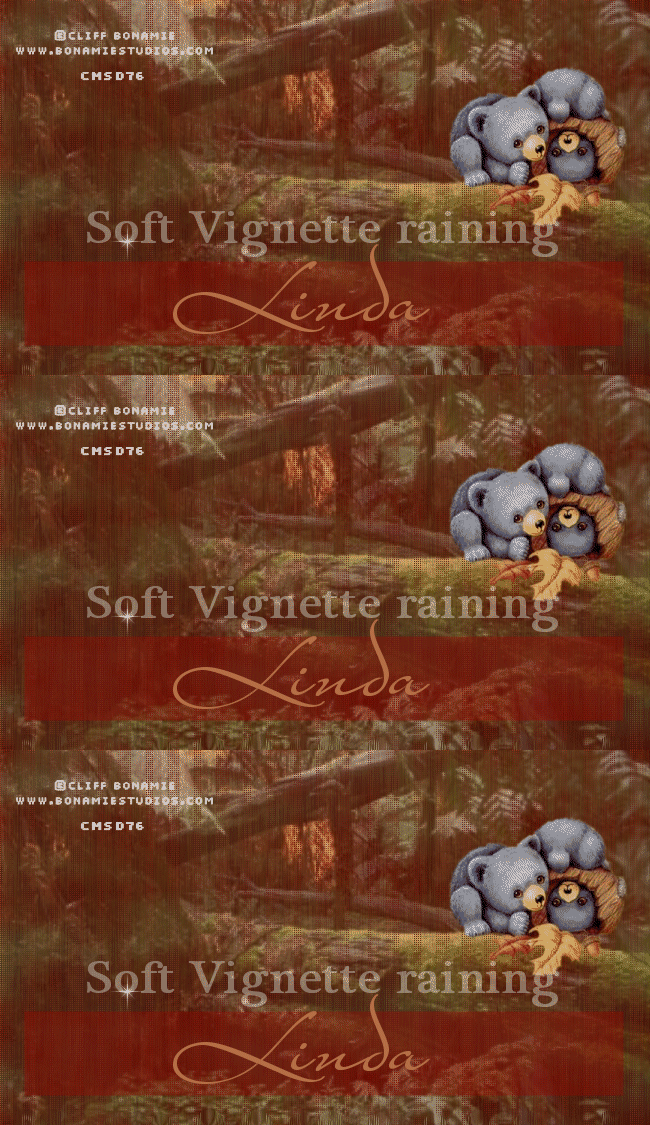
Soft Vignette Raining Footer
>> Friday, October 15, 2010
PSP 7, 8, 9, 10, 11 OR 12
Tube of choose-I use Cliff Bonamie (FTU tube included watermark)-Download-HERE
Font of your choose. I use Plantagent Check
Filters-Xreo/Soft Vignette and Mura‘s Meister/copies and Eye Candy 4000-HERE
SXC Image-HERE
1.New Image 650x 375 and fill with white.
2.Layer/New layer, fill with gradient or your choose color. You can create any color of your choose if you prefer. Gradient/Angle-39/Repeats-11. Make sure it’s at Linear. OK. Fill it with gradient.
3. Adjust/Blur/Radial Blur-Ticked Spin/Strength(%)-91, Ticked Elipical/Horizital offset(%)--10/Vertical offset(%)-27/Protect center(%)-30. OK.
4. Effect/Mura’sMeister/Clouds-Default/Light-white/FG (middle)-#a57d4b and BG (bottom)-#9b0200
5. Open SXC Image-Image 2. Selection/Select All. Layer/new layer. Copy Image 2 and on your canvas, paste as new layer
6. Add text on your canvas, just type whatever that inspiration you. Font-I use Hot Pizza and IrisUPC/size 30. Color of your choose. Drop Shadow of your choose. Selection/Select None. Opacity to lowest 53. Effect/Xreo-Soft Vignette. The settings are:
Horizontal/Ticked Sharp. Transparency/Square dots.
Repeats/74
Width/27
Height/5
Strength/255
OK. Let’s learn how to make rain (real so simply!) Duplicated 2 times. You should have 3 layers. Activity bottom. Effect/Eye Candy 4000/Drip. The settings are:
Width (pixels)-18.00
Maximum Length(pixels)-71.71
Spacing(pixels)-45.00
Taper-14
Dibble-48
Randon Seed-769. Repeat middle and top. Activity bottom. Drop Shadow-V&H-2/Opacity-72/Blur-6.00. Color/Black. Repeat middle and top. Close Background and raster 1. Here is the fun part! Activity bottom. Effect/Eye Candy 4000/HSB NOISE. The settings are:
Hue Variation-5
Saturation Variation-5
Brightness Variation-9
Opacity Variation-0
Lump Width (pixels)-1.00
Lump Height (pixels)-42.00
Pattern-Smooth Lumps
Ticked Seamless Tile
Random Seed-1
Activity middle. Repeat HSB NOISE/except change to Hue Variation/2 and Saturation/2 and just click Radom Seed, once.
Activity top. Repeat HSB NOISE. Repeat Hue Varation/5 and Saturation Variation/5. Click Radom Seeds, once. Close 3 layers. Open Background and raster 1. Merge-Merge down. Duplicate background 2 more times. You should have 3 layers. Close Copy of background and Copy (2) of background. Open background and bottom. Layers/Merge/Merge Visible. Close Merged. Repeat until you have all of 3 layers. Activity bottom. Copy and open AS 3. Paste as new animation. Go back to PSP. Activity middle. Repeat copy/back to AS 3, paste After Current Frame. Go back to PSP, copy top, repeat After Current Frame. Done with animation!
7.Present Shape-Rectangle. Drag it along. Size doesn’t matter. I use dark red-#9b0200. Opacity to lowest 36. Just play with your own opacity as you prefer. Type anything you like. For font, I use Plantagenet Check and I use white. Merge/Merge down. Copy and go back to AS 3, paste as new animation. On your AS 3, click Propagate Paste, copy. Edit/Into Selected Frame.
8.Back to PSP. Layer/new layer. Add any brush as you prefer. Copy, repeat AS 3.
9.Open your favorite tube. I use Cliff Bonamie. Resize if necessary. Copy and back to AS 3, repeat.
10. Add copyright information and URL as well as license numbers on your tag (if your tube is PTU).
11.To add your name for your tag. I use Mr. Lockbroughts and color of your choose, I use #b46f46. Size is 72.
Save as JPG or PNG.
Make sure you add copyright/URL as well as watermark on your tag.


0 comments:
Post a Comment